How to start and basics of night sky photography
Photographing the Night Sky -- Startup
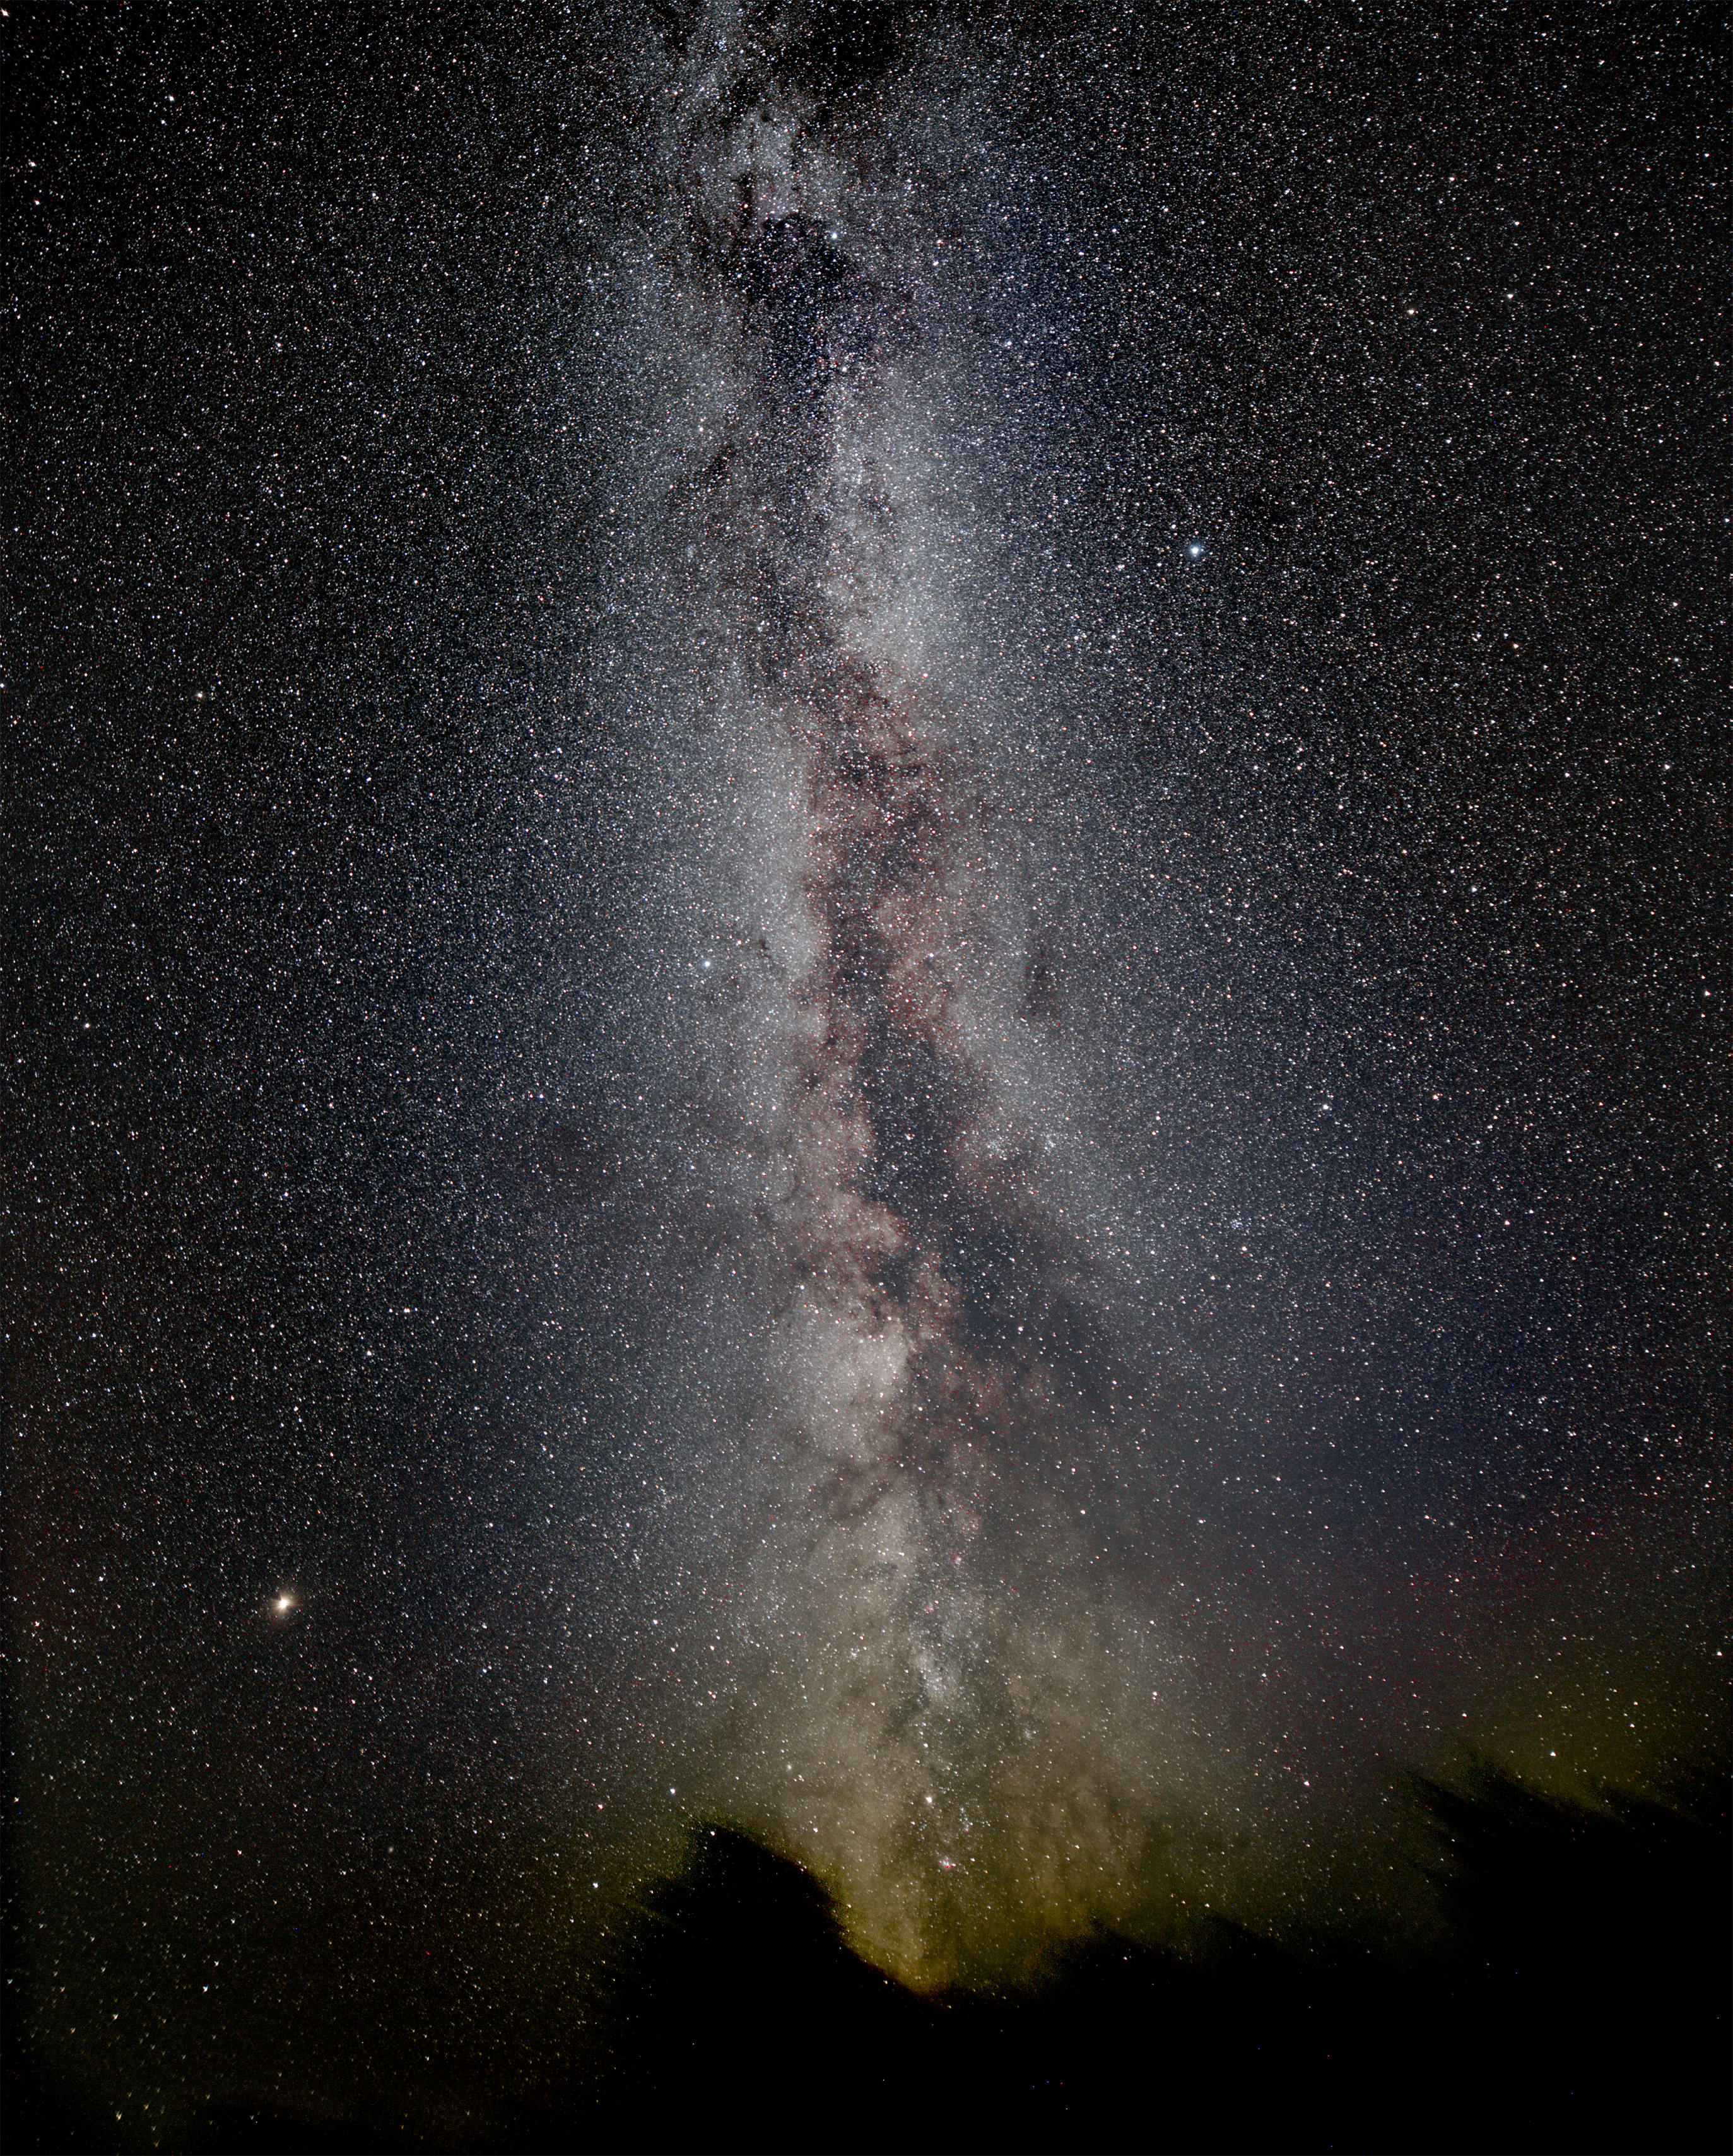
Daytime photography capitalises upon the functions of digital cameras, rapid autofocus, image stabilization, autoexposure. Photography at night is raw and back to basics. Almost all camera aids are none functional and its back to manual modes and knowledge of what your camera system is capable of. Once mastered the night sky can provide some of the most rich and spectacular photographic opportunities. Whether it’s the photography of constellations, the milky way, meteor showers, the transit of the International Space station, or the nebulas of the summer skies most digital cameras have this capability to different degrees. A photographic system can essentially be broken into 3 different parts:
- the sensor which detects the light, this of course used to be photographic film
- the camera body which supports the sensor and in general has the electronics to control the camera
- the lens which focuses the light onto the sensor chip.
Within the following links we will discuss the different aspects and optimal method to setup for night time photography. Although different camera manufacturers have different terminology for different items of their cameras the language used through these pages will relate to Canon cameras but can be translated to other manufacturers.
Travel Checklist › [MY]:../assets/img/astrophotos/southup.jpg